macOS Installation Guide
This guide covers installing and configuring the DNAGedcom Client on macOS, including the security permissions required on modern macOS versions.
System requirement: macOS 12 (Monterey) or later. The DNAGedcom Client is a Universal binary that runs natively on both Intel and Apple Silicon Macs.
Step 1: Download the Installer
Download the latest installer from the link below:
Download DNAGedcom Client for macOS
The file will be named DNAGedcomInstaller4.pkg and will appear in your browser's downloads bar and your Downloads folder.

Step 2: Run the Installer
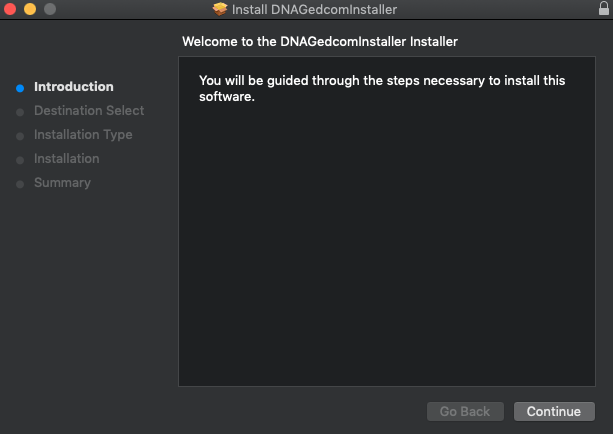
Double-click DNAGedcomInstaller4.pkg in your Downloads folder. The macOS installer wizard opens at the welcome screen:
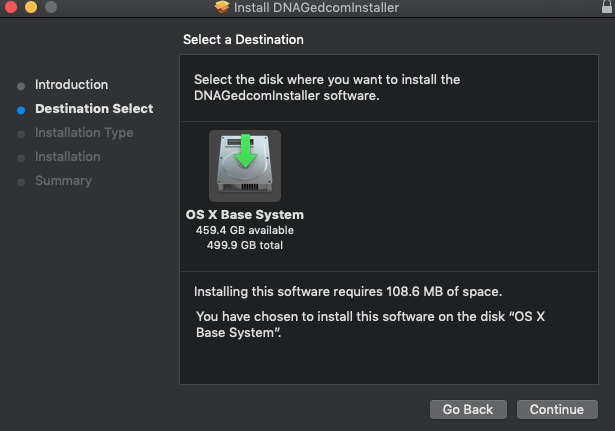
Next is the destination screen:
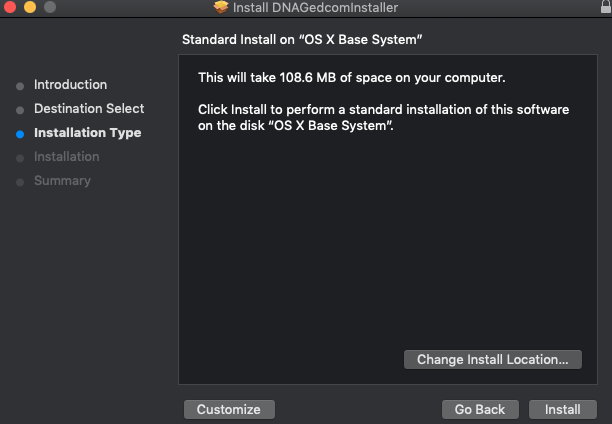
Then click Install on the install confirmation screen:
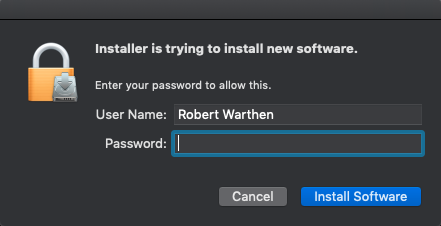
Enter your Mac password when prompted to authorize the install:
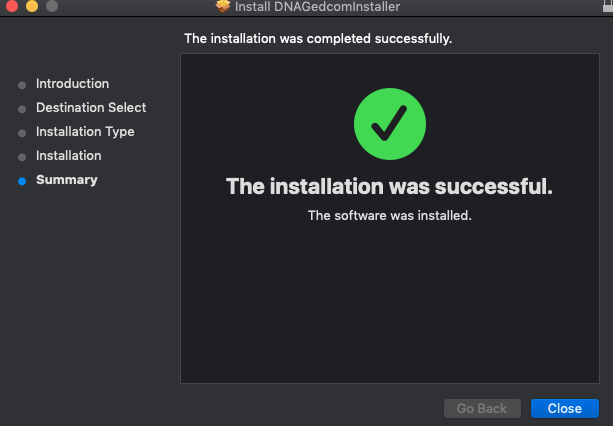
When the wizard reports success, click Close:
Find DNAGedcom Client in Launchpad or use Spotlight (Cmd+Space) and type "DNAGedcom".
Step 3: Approve Gatekeeper (if prompted)
macOS Gatekeeper may block the installer or the app because it was downloaded from the internet rather than the Mac App Store. This is normal for apps distributed with a Developer ID certificate.
If the installer is blocked
- Right-click (or Control-click) the
.pkgfile and select Open (not double-click). - In the dialog that appears, click Open to override the block.
If the app is blocked after installation
- Open System Settings (or System Preferences on older macOS).
- Go to Privacy & Security.
- Scroll down to the Security section. You'll see a message about DNAGedcom being blocked.
- Click Open Anyway and enter your Mac password to confirm.
You only need to do this once. After the first approval, macOS will remember your choice.
For more details, see Apple's Safely open apps on your Mac support article.
Step 4: Grant App Management Permission (macOS 15 Sequoia and later)
This step is required on macOS 15 (Sequoia) and later. If you are on macOS 14 (Sonoma) or earlier, you can skip this step.
Starting with macOS 15, Apple requires apps to have App Management permission before they can install or update helper components. DNAGedcom needs this permission to set up its built-in browser, which is used to gather data from DNA testing services.
When you first launch DNAGedcom on macOS 15+, you'll see a dialog explaining that browser setup is required. Follow these steps:
- Click Yes in the DNAGedcom dialog to open System Settings automatically.
- In System Settings > Privacy & Security > App Management, find DNAGedcom in the list.
- Turn ON the toggle next to DNAGedcom.
- Enter your Mac password to confirm the change.
- Return to DNAGedcom — the browser components will install automatically.
If you don't see the dialog or missed it
You can grant the permission manually at any time:
- Open System Settings.
- Click Privacy & Security in the sidebar.
- Scroll down and click App Management.
- Find DNAGedcom and turn on its toggle.
Why is this needed?
DNAGedcom uses an embedded browser (Chromium) to log in to DNA testing services and gather your data. On macOS 15+, the browser binaries must be downloaded and installed the first time you run the app. Without App Management permission, macOS blocks this installation and gathering will not work.
Step 5: Allow Network Access (if prompted)
The first time DNAGedcom connects to the internet, macOS may ask whether to allow incoming or outgoing network connections. Click Allow — DNAGedcom needs network access to:
- Log in to your DNAGedcom account
- Connect to DNA testing services (A*, 23andMe, FTDNA, MyHeritage, GEDMatch)
- Download browser components on first launch
- Check for application updates
If you accidentally clicked Deny, you can fix it in System Settings > Network > Firewall > Options — find DNAGedcom and set it to Allow incoming connections.
Step 6: Files & Folders Access
DNAGedcom stores its database and exported files in a folder you choose during setup (typically in your Documents or home folder). macOS may prompt you to allow access the first time DNAGedcom reads or writes to this location.
- Click Allow when prompted to let DNAGedcom access your chosen folder.
- If you want to change permissions later, go to System Settings > Privacy & Security > Files and Folders and adjust DNAGedcom's access.
Step 7: Initial Setup
Once the app is running with all permissions granted:
- Log in with your DNAGedcom credentials.
- Click the gear icon to open Settings.
- Choose a folder on your Mac for the database (e.g., Documents).
- Give your database a name (optionally include the tester's name).
- Click Save.
You're now ready to start gathering DNA data. See the Getting Started guide for a full walkthrough.
Troubleshooting
This almost always means the App Management permission was not granted. Go to System Settings > Privacy & Security > App Management, find DNAGedcom, and make sure the toggle is ON. Then restart DNAGedcom.
Right-click the app and select Open. In the dialog, click Open again. Alternatively, go to System Settings > Privacy & Security, scroll to the Security section, and click Open Anyway.
This can happen if the download was interrupted or if an older version of Gatekeeper is interfering. Try these steps:
- Delete the downloaded
.pkgfile and re-download it. - If the problem persists, open Terminal and run:
xattr -cr ~/Downloads/DNAGedcomInstaller4.pkgto remove the quarantine flag, then try installing again.
Go to System Settings > Privacy & Security > Files and Folders and make sure DNAGedcom has access to the folder where your database is stored. If it's not listed, try moving your database to a different folder (like Documents) and updating the path in DNAGedcom's Settings.
All permissions can be changed in System Settings > Privacy & Security. Look under the relevant category:
- App Management — for browser component installation (macOS 15+)
- Files and Folders — for database and file access
- Network > Firewall > Options — for network/internet access
Find DNAGedcom in the list and toggle the permission on. You may need to restart DNAGedcom after changing permissions.
Permission Summary
Here's a quick reference of all macOS permissions DNAGedcom may need:
| Permission | macOS Version | Why It's Needed |
|---|---|---|
| Gatekeeper approval | All versions | Allows the app to run since it's distributed outside the Mac App Store |
| App Management | macOS 15+ | Allows DNAGedcom to install and update its built-in browser for data gathering |
| Network access | All versions | Connects to DNA testing services and checks for updates |
| Files and Folders | macOS 13+ | Reads and writes your local database and exported files |
Need help? Email support@dnagedcom.com and include your DNAGedcom username, client version number, and the log file from the Settings page.